Ginger is a powerful spice with numerous health benefits, from aiding digestion to reducing inflammation. While growing fresh ginger might seem challenging, using plastic bags makes the process easy and space-efficient. This method allows you to grow ginger without a garden, making it ideal for urban settings or small spaces.
Step 1: Gather Your Materials
What You’ll Need:
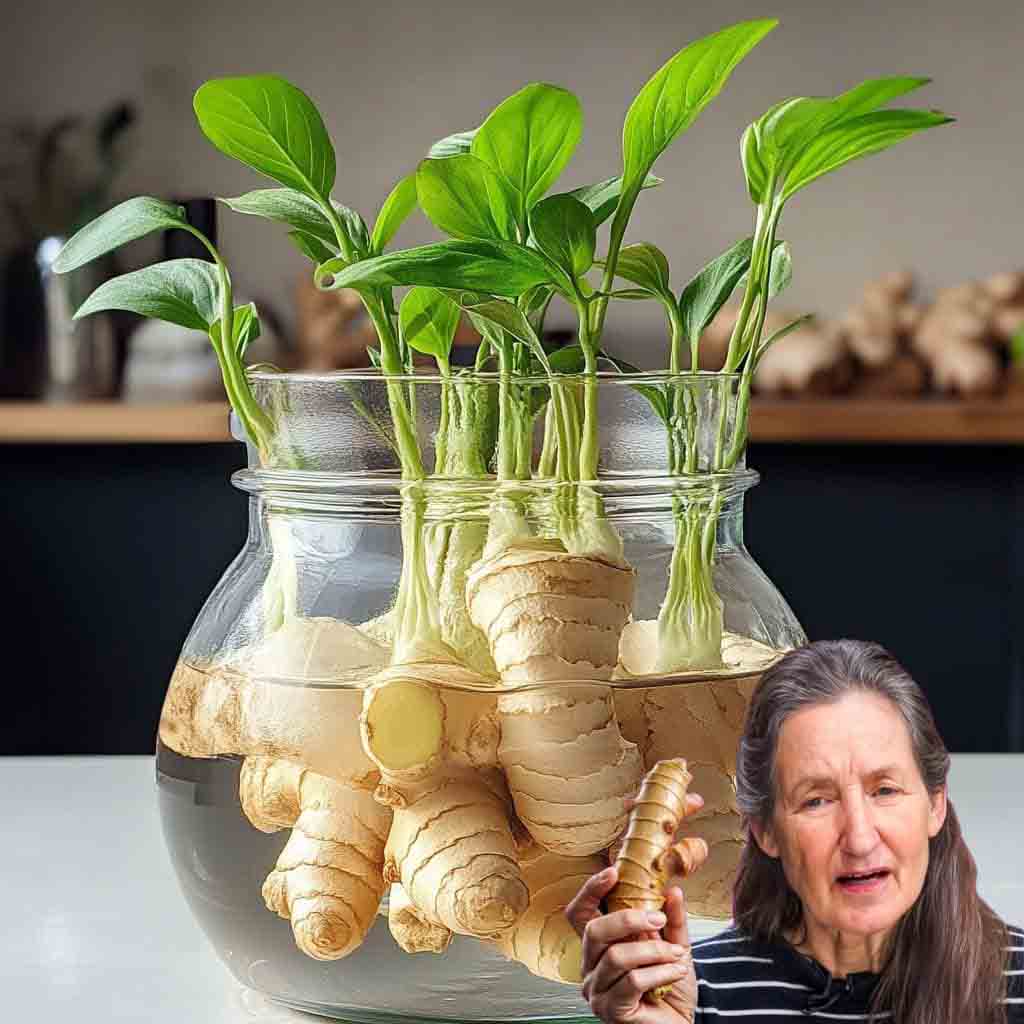
✔ Fresh Ginger Rhizomes – Choose pieces with visible “eyes” or buds, as these will sprout new shoots.
✔ Plastic Bag – A bag with drainage holes is best. If yours doesn’t have any, poke a few holes in the bottom.
✔ Nutrient-Rich Soil – Use loamy, well-draining soil mixed with compost. A slightly acidic to neutral pH is ideal.
✔ A Sunny Spot – Choose a location with indirect sunlight, such as a windowsill or shaded garden area.
Step 2: Prepare the Ginger
1. Cut the Ginger
- Use a sharp knife to cut the ginger into small pieces (about 1-2 inches long).
- Ensure each piece has at least one or two “eyes” or growth buds.
2. Cure the Ginger
- Lay the cut pieces in a dry, well-ventilated area for 24-48 hours.
- This step helps the cut surfaces form a protective callus, reducing the risk of rot.
Step 3: Plant the Ginger
1. Fill the Plastic Bag with Soil
- Fill the bag with rich, loamy soil, leaving a few inches at the top.
2. Plant the Ginger Pieces
- Place the ginger pieces 2-4 inches deep in the soil.
- Position them with the buds facing up for optimal growth.
3. Choose the Right Location
- Place your plastic bag in a bright area with indirect sunlight, such as a windowsill or patio.
Step 4: Watering and Care
1. Watering
- Water regularly but lightly – the soil should be moist but not soggy.
- To check if watering is needed, stick your finger into the soil (about an inch deep). If it’s dry, water it.
2. Feeding the Plant
- During the growing season (spring to fall), use a balanced, all-purpose liquid fertilizer once a month.
3. Pest Control
- If you notice pests, a gentle spray of soapy water can help remove them.
Step 5: Harvesting Ginger
- Ginger plants mature in 8-10 months.
- You’ll know it’s ready when the leaves turn yellow and begin to die back.
- To harvest, carefully dig around the plant to expose the rhizomes.
- Gently lift them out of the soil with your hands.
- For continuous growth, leave a few rhizomes in the soil to sprout again.
Final Thoughts
Growing ginger in a plastic bag is a simple and space-saving method, perfect for anyone looking to enjoy fresh, homegrown ginger without a garden. With proper care, watering, and patience, you can harvest your own aromatic ginger within a few months.
Try it out and enjoy fresh, organic ginger in your kitchen all year round! 🌿