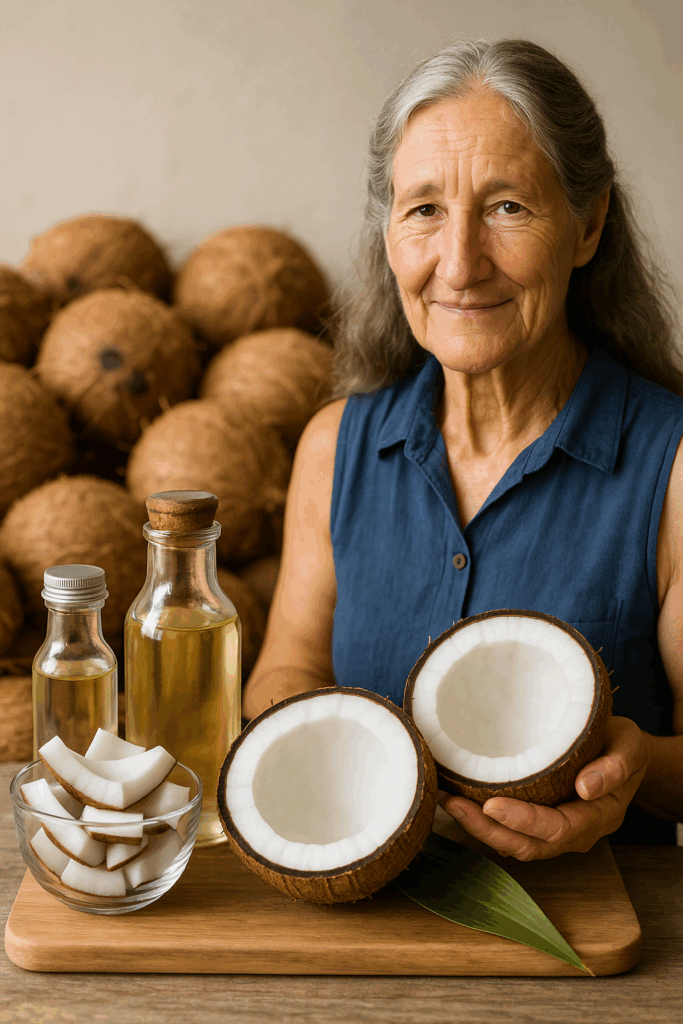
If you’ve ever wanted to take control of the ingredients you use in your kitchen, skincare, or haircare routine, homemade coconut oil is a great place to start. This guide walks you through a simple and natural method to make high-quality coconut oil at home—no additives, no preservatives, just pure goodness.
🥥 What You’ll Need
- 3–4 mature brown coconuts
- Water (filtered preferred)
- A blender or food processor
- Cheesecloth or fine mesh strainer
- A large mixing bowl
- A saucepan or skillet
- Airtight glass jar for storage
🔧 Step-by-Step Instructions
🥥 Step 1: Crack and Prep the Coconuts
Use a hammer or the back of a heavy knife to crack each coconut open.
- Drain the coconut water and save it separately (drink it or use in smoothies).
- Scoop out the white flesh using a strong spoon or coconut scraper.
- Rinse the coconut meat to remove any leftover shell or husk particles.
🔄 Step 2: Blend the Coconut
Cut the coconut flesh into small pieces.
- In a blender, add 2 cups of coconut meat + 1 cup of water.
- Blend until smooth, forming a thick coconut cream.
You may need to blend in batches depending on your blender size.
🥣 Step 3: Extract the Coconut Milk
Place a cheesecloth over a bowl and pour in the blended mixture.
- Squeeze tightly to extract as much coconut milk as possible.
- Repeat the process until you’ve used all the blended coconut.
🕒 Step 4: Separate the Oil Naturally
Let the bowl of coconut milk sit undisturbed at room temperature for 24 hours.
- After 24 hours, a thick cream layer will float to the top.
- Refrigerate the mixture for 2–3 hours to harden the cream.
- Scoop the cream off, leaving the water behind (you can discard or repurpose the water).
🔥 Step 5: Heat to Extract the Oil
Place the hardened cream into a pan.
- Heat on low flame, stirring occasionally.
- As it melts, oil will separate from solids.
- Continue heating until all moisture evaporates and clear oil remains.
- Strain through cheesecloth one final time to remove solids.
🧴 Step 6: Cool and Store
- Let the oil cool completely.
- Pour into a clean, airtight glass jar or container.
- Store in a cool, dark place. It will keep for several months at room temperature or longer in the fridge.
💡 Benefits of Homemade Coconut Oil
- 100% natural and chemical-free
- High in lauric acid (antibacterial and antifungal properties)
- Excellent for hair, skin, cooking, oil pulling, and massage
- Retains authentic coconut aroma and flavor
- Eco-friendly (zero packaging waste, sustainable)
🧴 Why Make Coconut Oil at Home?
- ✅ No additives, bleaching, or deodorizing
- ✅ Perfect for sensitive skin and children
- ✅ Saves money in the long run
- ✅ Versatile: cooking, skincare, baby care, pet care, and more
🌿 Bonus Tip: What to Do With the Leftover Coconut Pulp
Don’t throw it away! Use it for:
- Making coconut flour
- Adding to baked goods or smoothies
- Feeding to pets or chickens
- Making natural body scrubs when mixed with sugar or salt
Final Thought:
Making coconut oil at home isn’t just about health—it’s about self-sufficiency and peace of mind. With just coconuts and a little time, you can create a pure, multipurpose oil that’s safe, sustainable, and deeply nourishing.