✨ Imagine walking into your backyard or balcony and picking your very own cloves — fresh, fragrant, and completely homegrown. Growing a clove plant at home may sound like a complicated project, but with the right method, patience, and a bit of love, you can transform a few tiny seeds into a thriving spice tree. Whether you dream of homemade cloves for cooking, herbal remedies, or even just the joy of growing something exotic, this guide will show you exactly how to do it step-by-step.
Get ready to bring a touch of the tropics into your home!

🌱 Why Grow a Clove Plant at Home
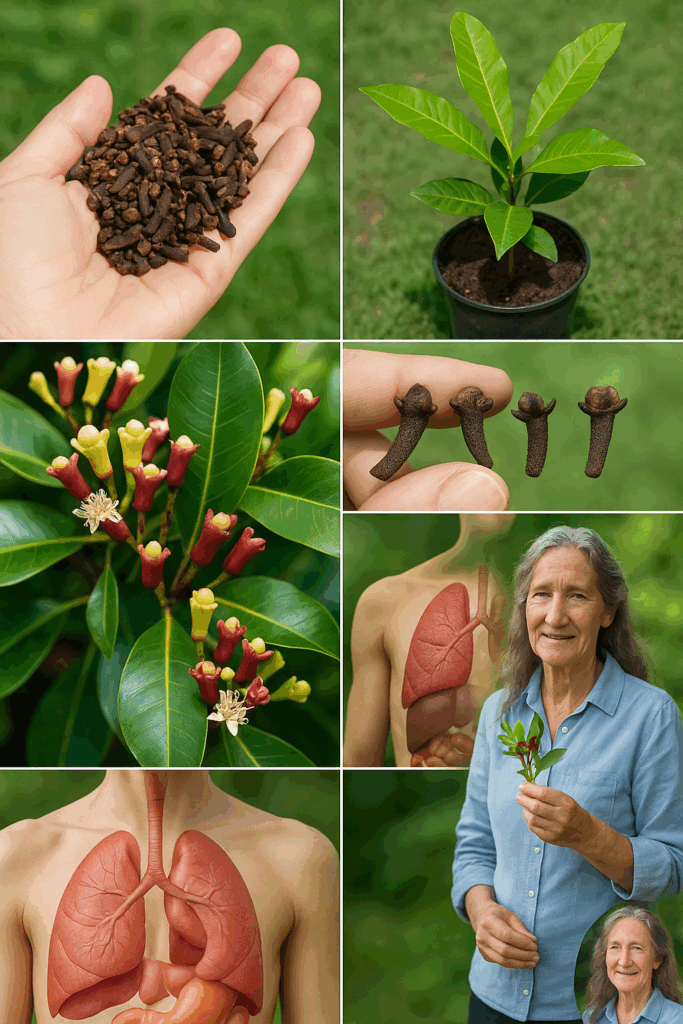
Cloves are more than just a spice. They symbolize resilience, flavor, and tradition. By growing your own clove tree, you create a connection to nature that’s incredibly rewarding. Plus, clove plants are beautiful — with their glossy green leaves and delicate, aromatic flower buds — making them a striking addition to any home garden.
🛒 What You Will Need
- Fresh clove seeds (not dried cloves — they must be fresh to germinate)
- Small seed-starting pots with good drainage
- Rich, well-draining potting soil
- Spray bottle for misting
- Warm, humid environment
- Large pot for transplanting (at least 12–15 inches wide)
- Patience and daily care
🌰 Step 1: Choose and Prepare Your Seeds
Select only fresh clove seeds. Dried cloves sold for cooking will not germinate because they have already been processed.
Soak the fresh seeds in lukewarm water for 24 hours. This softens the outer shell and stimulates germination.
🌡️ Step 2: Create the Perfect Germination Environment
Fill small pots with a rich, well-draining seed-starting mix. Plant each seed about ½ inch deep into the soil.
Mist the soil gently with water until moist but not soaking wet.
Cover the pots loosely with plastic wrap to maintain humidity. Place them in a warm location — around 75–85°F (24–29°C) — to encourage germination.
Germination can take anywhere from 4 to 6 weeks, so stay patient and keep the soil moist but not waterlogged.
🌿 Step 3: Care for Emerging Seedlings
Once you see tiny shoots emerging, remove the plastic cover. Move the pots to a bright, indirect light source. Avoid direct, harsh sunlight at this stage, which can scorch the young plants.
Keep misting lightly every day to maintain humidity, and ensure the soil remains consistently moist.
When the seedlings are about 4–5 inches tall, they are ready for their next big step.
🪴 Step 4: Transplant to a Larger Container
Carefully transplant your strongest seedlings into a larger container filled with rich, well-draining soil. Make sure the pot has plenty of drainage holes to avoid soggy roots.
Plant the seedlings at the same depth they were growing previously. Water them well after transplanting to help them settle into their new home.
☀️ Step 5: Provide the Right Conditions for Growth
Clove plants love warmth, humidity, and bright but filtered light. Place your container in a location where the plant gets at least 6–8 hours of light daily without harsh direct sun.
Maintain consistent soil moisture. Never let the soil dry out completely, but avoid drowning the roots.
During drier seasons, mist the leaves daily to replicate the plant’s native tropical environment.
💧 Step 6: Feeding and Nourishing Your Clove Plant
Feed your clove plant with a balanced, organic fertilizer every 4–6 weeks during the growing season. This will ensure strong growth and healthy leaf production.
In cooler climates, consider bringing the plant indoors during winter months to protect it from cold damage.
🛠️ Step 7: Pruning and Shaping
Clove plants can become tall and bushy if left unchecked. Regularly trim back leggy branches to encourage a fuller, more compact shape.
Pruning also helps improve air circulation around the leaves, reducing the risk of fungal diseases.
🌸 Step 8: Patience to See Blooms and Buds
Clove trees are slow growers. It may take 5–7 years before the plant starts to flower and produce the coveted clove buds.
The flowers begin as pale buds, gradually turning deep red as they mature. These unopened red flower buds are harvested and dried to create the aromatic cloves used in cooking and medicine.
⏳ Step 9: Harvesting Your Cloves
When the buds turn bright red but before they fully open into flowers, it’s time to harvest.
Clip the buds carefully with scissors and lay them out to dry naturally in a warm, shaded area. Properly dried cloves turn brown and develop their signature spicy aroma.
After drying, store your homegrown cloves in an airtight container in a cool, dark place.
🌟 Quick Tips for Success
- Fresh seeds are critical — dried seeds will not grow.
- Consistent moisture and humidity are key to healthy seedlings.
- Protect young plants from strong winds and sudden temperature drops.
- Be patient — a clove tree is a long-term investment but incredibly rewarding.
🔥 Common Mistakes to Avoid
- Using old, dried cloves as seeds.
- Allowing soil to dry out completely between waterings.
- Overexposing young seedlings to harsh direct sunlight.
- Skipping humidity maintenance, especially during early stages.
🌿 Imagine the Possibilities
Homegrown cloves can elevate your culinary creations, craft powerful herbal remedies, and even be used for fragrant home projects. More importantly, the journey of nurturing a clove tree teaches patience, respect for nature, and the deep satisfaction of growing something extraordinary from a tiny seed.
🌿 Conclusion
Growing a clove plant at home transforms an everyday spice into a living, breathing part of your space. It’s a journey that combines science, art, and a bit of magic — a slow unfolding of life that rewards you not just with aromatic buds but also with a profound sense of achievement.
🌟 Start your clove-growing adventure today and experience the magic of nurturing your own spice tree from seed to spice. A world of fragrance and flavor awaits right at your fingertips!