✨ Ever dreamed of harvesting your own sweet, juicy grapes right from your balcony or patio, even without a garden? What seems impossible is actually a hidden gardening secret you can master. Growing grapes from seeds in containers is easier than you think, and today you will discover exactly how to make it happen.
Let’s dive into the full method and unlock the vineyard experience in your own home.
🌱 Why Grow Grapes from Seeds in Containers
Starting grapes from seeds builds a deeper connection with your plants. It allows you to nurture life from the very beginning, creating strong, resilient vines adapted to your specific environment. Growing in containers also offers flexibility, saves space, and allows you to move your plants to optimize sunlight exposure throughout the seasons.
🛒 What You Will Need
- Fresh grape seeds (preferably from organic grapes)
- Small seed-starting trays or cups with drainage holes
- High-quality seed-starting soil mix
- 5–15 gallon containers for transplanting
- Spray bottle for misting
- Plastic wrap or a humidity dome
- Water that is free of chlorine
- Patience and care
🍇 Step 1: Extract and Prepare the Seeds
Carefully extract seeds from fresh grapes. Rinse them under lukewarm water to remove any sticky residue. Make sure only plump, healthy-looking seeds are selected.
Place the seeds in a bowl of water. Discard any seeds that float, as they are less likely to germinate successfully.
❄️ Step 2: Cold Stratification (Essential for Success)
Grape seeds naturally require a chilling period to break dormancy. Wrap the cleaned seeds in a moist paper towel, place them in a sealed plastic bag, and refrigerate them for about 6 to 12 weeks.
Check periodically to ensure the towel stays moist, but not soaking wet. This cold treatment tricks the seeds into thinking they have gone through winter.
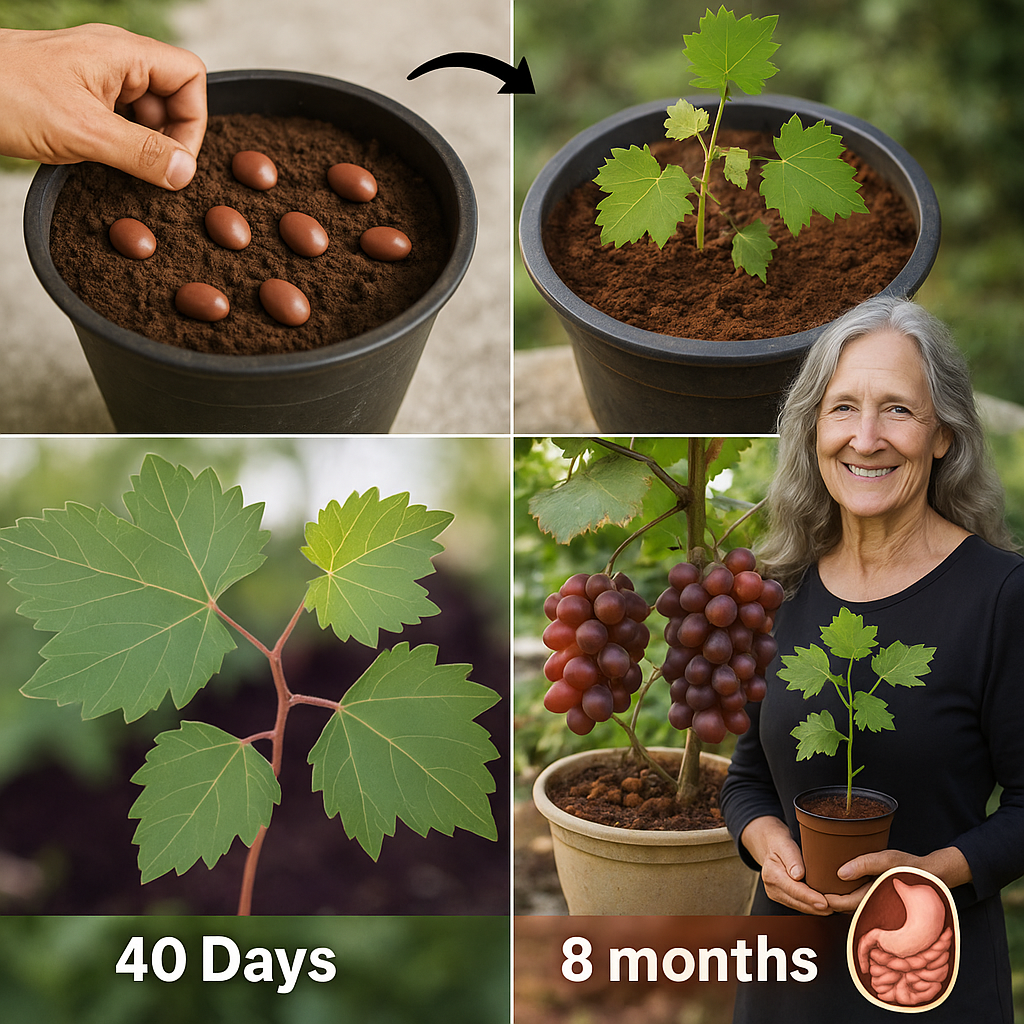
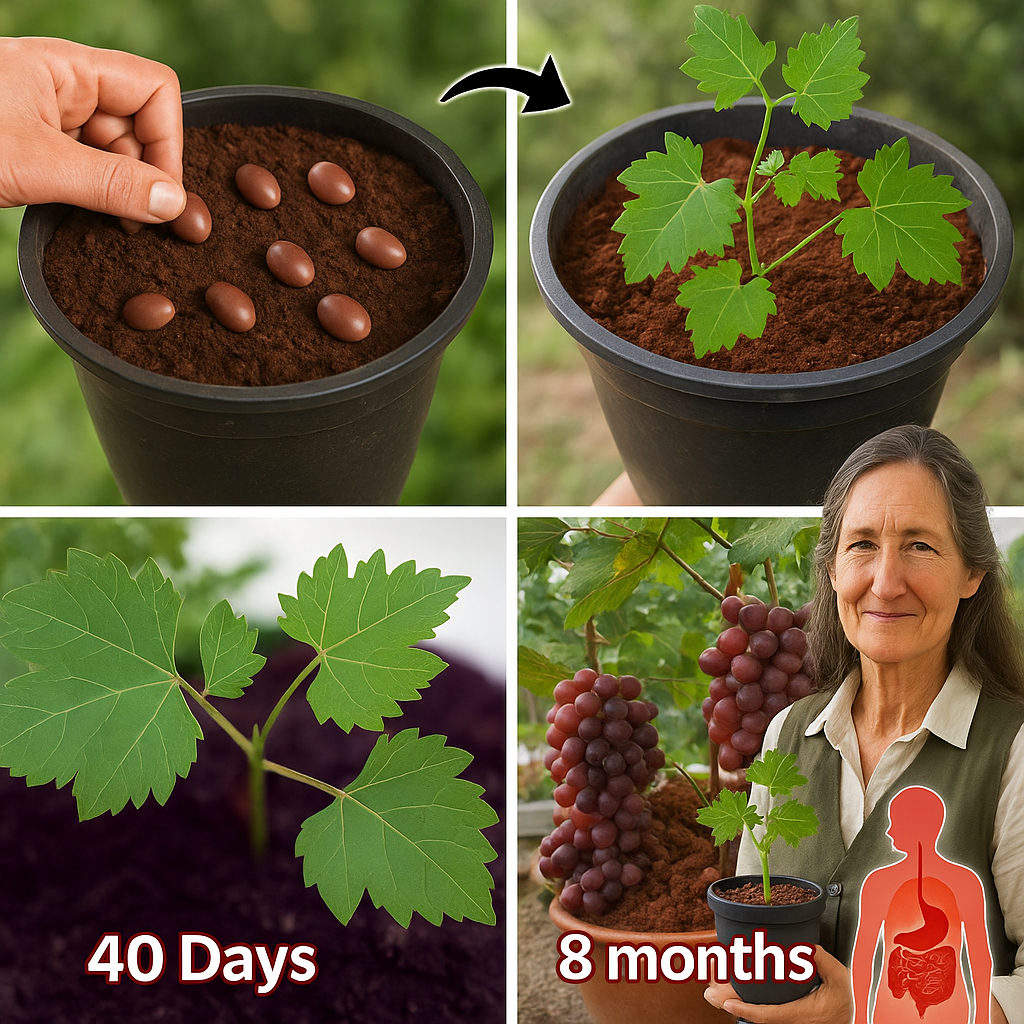
🌞 Step 3: Germinate the Seeds
After stratification, remove the seeds from the fridge. Plant them about ¼ inch deep into small containers filled with moist seed-starting mix.
Place the containers in a warm location with indirect sunlight. Cover lightly with plastic wrap or a humidity dome to maintain moisture and warmth.
Keep the soil consistently moist by misting daily. Germination can take anywhere from 2 to 8 weeks, so patience is key.
🌿 Step 4: Care for Seedlings
Once seedlings appear, remove the plastic cover. Move the containers to a sunny windowsill or under a grow light to encourage strong growth.
Rotate the containers every few days so the seedlings grow upright and do not lean toward the light source.
Water carefully, keeping the soil moist but never soggy. Overwatering can lead to damping-off, a fatal condition for young seedlings.

🪴 Step 5: Transplant into Larger Containers
When the seedlings are around 6 inches tall and have at least 4 to 5 true leaves, it’s time to transplant them into larger containers.
Choose containers with excellent drainage and at least 12 inches in diameter. Fill with high-quality potting mix combined with a bit of compost for nutrients.
Plant the seedlings at the same depth they were growing in their smaller containers. Water them thoroughly after transplanting.
🌤️ Step 6: Provide the Right Growing Conditions
Grapevines love sunlight. Place your containers in a spot where they can receive at least 6 to 8 hours of direct sunlight daily.
Support the young vines with a small trellis, stakes, or even balcony railings. Grapes naturally love to climb and need structure to thrive.
Feed your grapevine with a balanced fertilizer once every 4–6 weeks during the growing season to encourage robust growth.
💧 Step 7: Watering and Maintenance
Water deeply but allow the top inch of soil to dry out between watering sessions. Grapevines are drought-tolerant once established, but young plants need consistent moisture to build strength.
Mulching around the base can help retain moisture and regulate temperature in the container.
Trim any weak or crossing branches to promote strong, upward growth. Proper pruning during the first year will shape the vine for future heavy harvests.
🕰️ Step 8: Patience and Reward
Growing grapes from seed is a slow process. It may take 2 to 3 years before your vine produces fruit. However, the satisfaction of seeing the first clusters of grapes hanging from your very own container-grown plant is truly priceless.
Patience is the most powerful tool in your gardening kit.
🌟 Common Mistakes to Avoid
- Skipping cold stratification
- Overwatering young seedlings
- Using poor-quality soil with inadequate drainage
- Placing containers in low-light areas
- Forgetting to support the vines early on
🔥 Quick Tips for Success
- Choose disease-resistant grape varieties if possible.
- Use rainwater or filtered water to avoid chlorine buildup.
- Start more seeds than you need because not all will germinate.
- Keep your plants protected from strong winds and extreme temperature shifts.
🍷 Imagine the Possibilities
Once your vines are mature, you can harvest grapes for fresh eating, juice, jelly, or even small-batch homemade wine. Growing your own grapes is not just about food — it is about crafting memories, nurturing patience, and connecting with nature at its finest.
🌿 Conclusion
Growing grapes from seeds in containers is a deeply rewarding project that transforms even the smallest spaces into lush, fruitful retreats. With a little time, love, and care, you can bring the timeless beauty of vineyards to your home — one tiny seed at a time.
🌟 Start your grape-growing journey today and experience the incredible joy of nurturing life from seed to harvest. The vineyard of your dreams is closer than you think!